How to Use the Table Element in AssaySmarfs
Tables in AssaySmarfs help you organize, calculate, and manage protocol data with ease. Unlike static tables, AssaySmarfs tables are dynamic and interactive — you can add rows and columns, apply formulas, and control when tables are editable. This makes them ideal for capturing structured data during protocol design and execution.
Creating and Customizing a Table
Create a Table
- Select an element in your protocol.
- From the icon menu on the right, click the “+” icon.
- Choose “Step with Table” (blue arrow) from the pop-up menu.
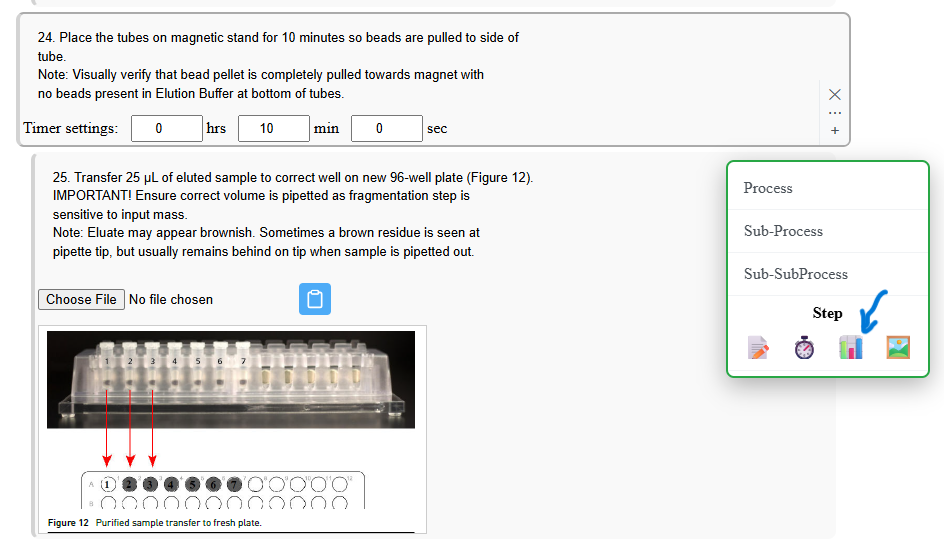
A new table will be inserted into your protocol. You can then customize it by adding rows, columns, and entering data directly into cells.
Add or Delete Rows
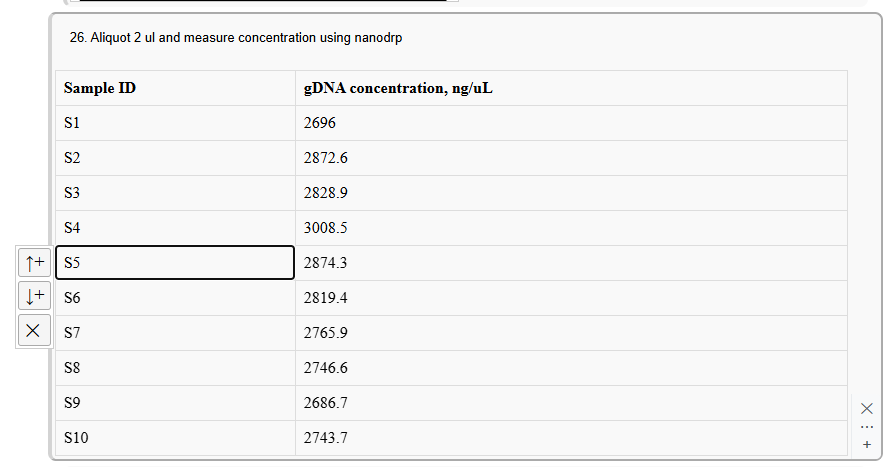
New tables start with 3 rows and 3 columns, with the first row set as the header.
- Select the first cell of any row (except the header).
- A vertical icon menu appears on the left.
-
Click:
- Up arrow → Insert a row above
- Down arrow → Insert a row below
- “X” → Delete the row
Add or Delete Columns
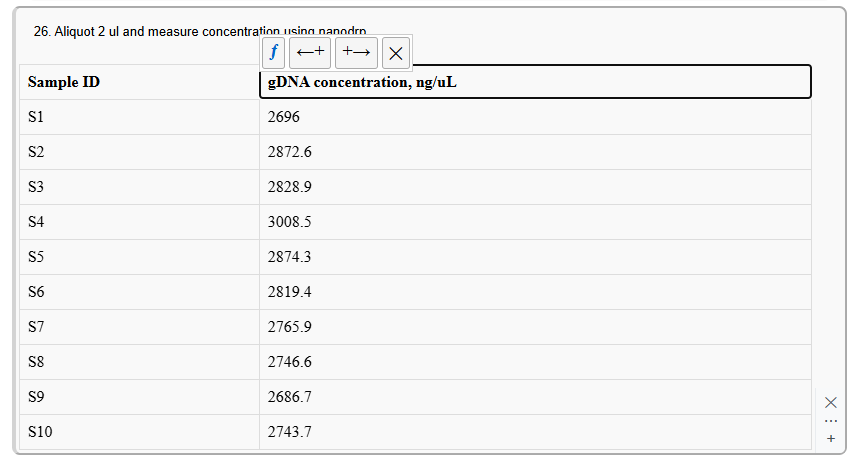
- Select any header cell.
- A horizontal icon menu appears above the cell.
-
Click:
- Right arrow → Add a column to the right
- Left arrow → Add a column to the left
- “X” → Delete the column
Using Formulas
Formulas help automate calculations and reduce manual errors.
Column Formulas
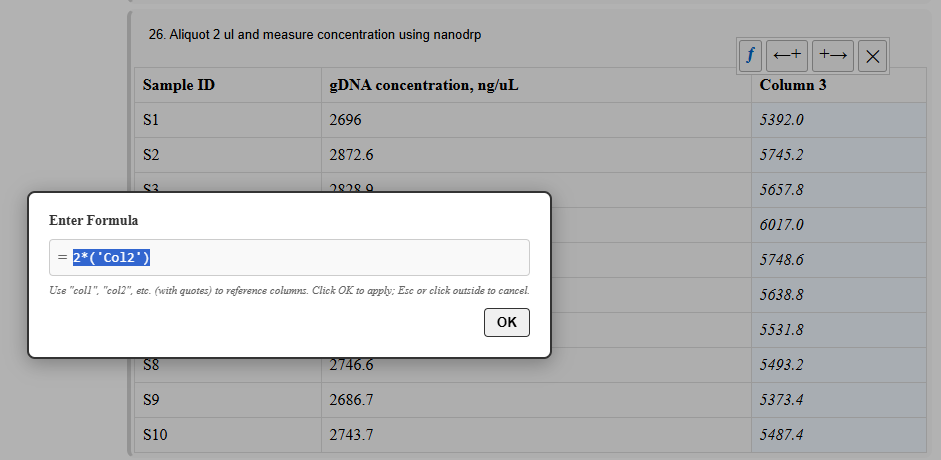
- Select a header cell of the column you want to apply a formula to.
- Click the “ƒ” icon to open the formula editor.
- Build your formula using arithmetic operations and referencing other columns.
Referencing columns:
- Use
colXwhere X is the column number (starting from 1). - Example:
"col2" + "col3"or'col2' + 'col3'
Note: Columns are referenced by number, not name.
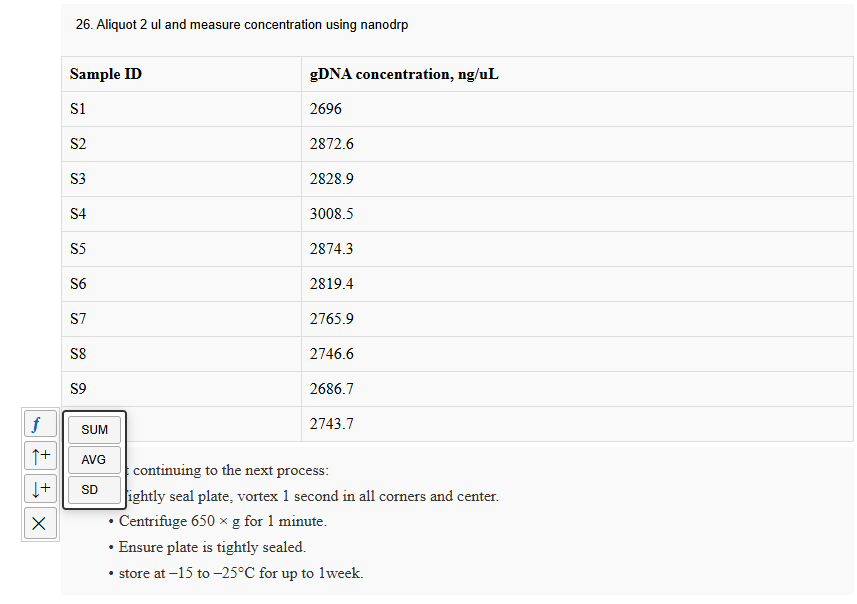
Row Formulas
- Select the first cell of the last row.
- Click the “ƒ” icon.
- Choose a formula:
- SUM — totals column values
- AVG — calculates the average
- SD — calculates standard deviation
Once you have created your formulas, the table will automatically calculate the results based on the data entered in the cells. Also, fomula calculated column and rows is non-editable and marked with a different background color to indicate that they contain calculated values.
This helps maintain accuracy and prevents accidental edits.
Table Settings
By default, tables are editable only in Edit Mode.
To allow editing during protocol execution:
- Click the “…” icon on the table element.
- Open the Element Settings panel.
- Enable editing in View Mode.
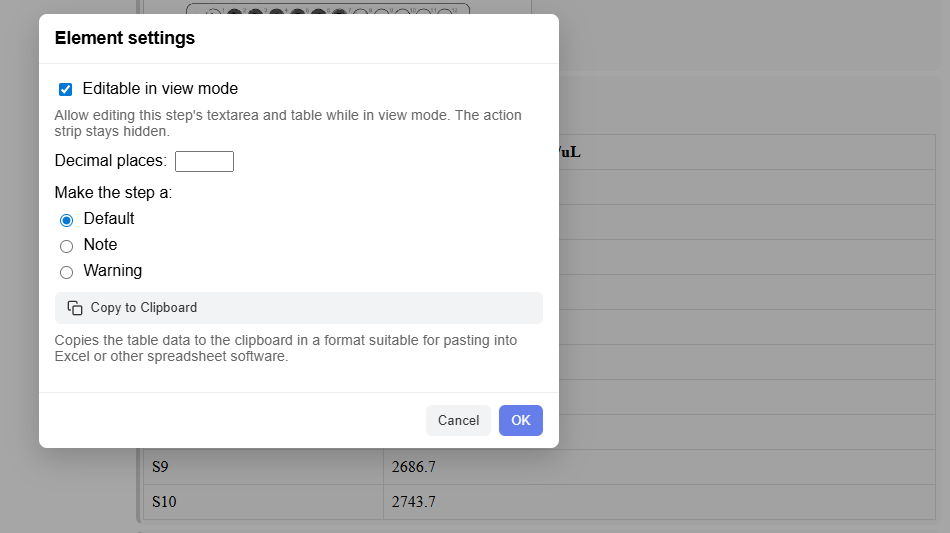
From this panel, you can also:
- Set decimal precision for numbers
- Copy table data to the clipboard
Why Use AssaySmarfs Tables?
- Organize complex data clearly
- Automate calculations
- Reduce data entry errors
- Adapt tables to protocol needs
- Capture data during execution
With flexible tables, your protocols become more structured, accurate, and efficient.